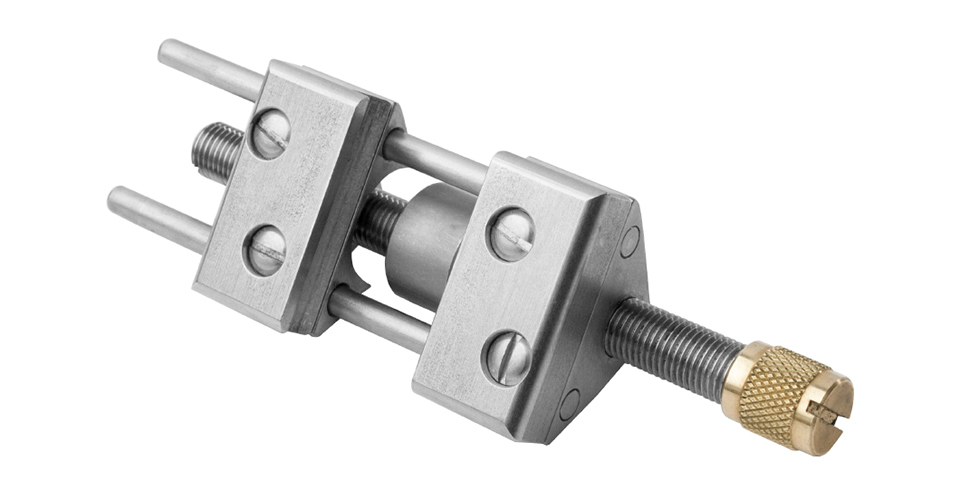
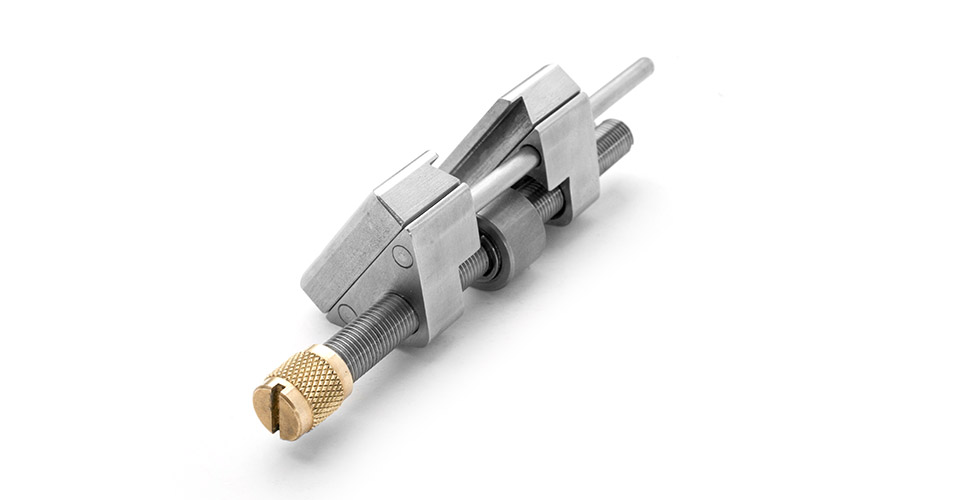

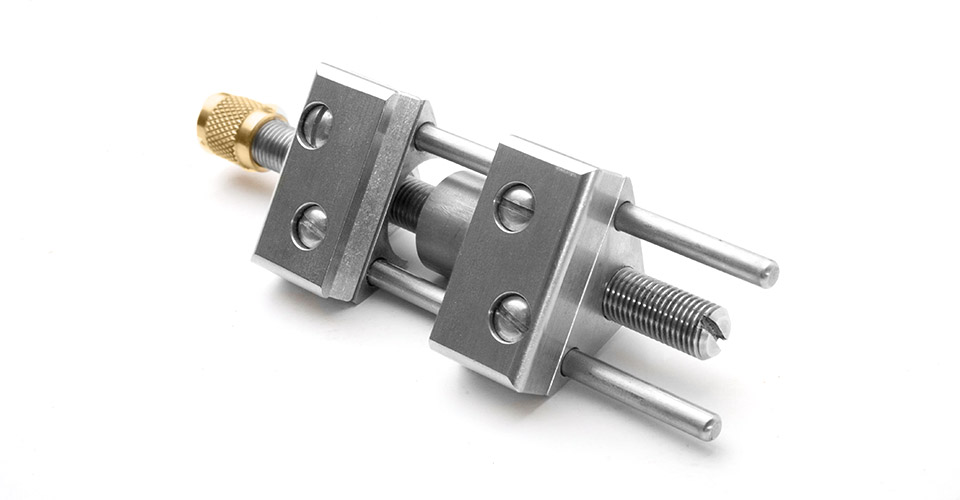
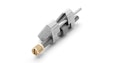
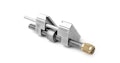
Our version of the side clamping style of honing guide is solidly machined from Stainless Steel, with a Bronze bearing.
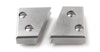
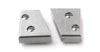
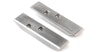
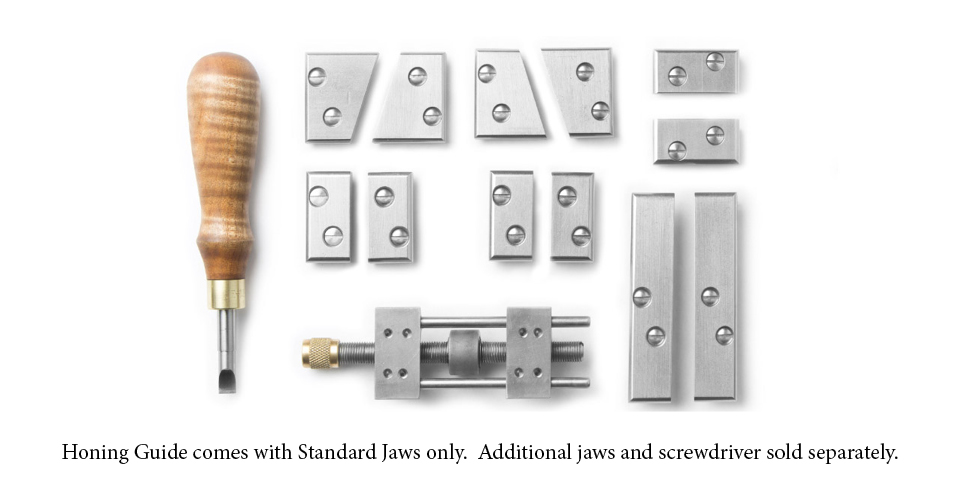
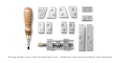
The Honing Guide features removable jaws: it comes with a standard pair of jaws that fit most of our blades, and additional jaws are available (sold separately) for Chisels 1/4" and under, tall jaws for Mortise Chisels, long jaws for very short blades and angled jaws for Skew Blades. We have designed these jaws for our blades and chisels, not other makers'.
For information on angle setting, click on the "Use" tab above.
You can find printable sharpening instructions as well as plans for an angle setting jig on our downloads page. Please note: Do not use diamond stones with the Lie-Nielsen Honing Guide.
For more information on advanced sharpening we recommend David Charlesworth’s video Plane Sharpening.
Patented.
Click here to download a PDF copy of the instructions for this tool.
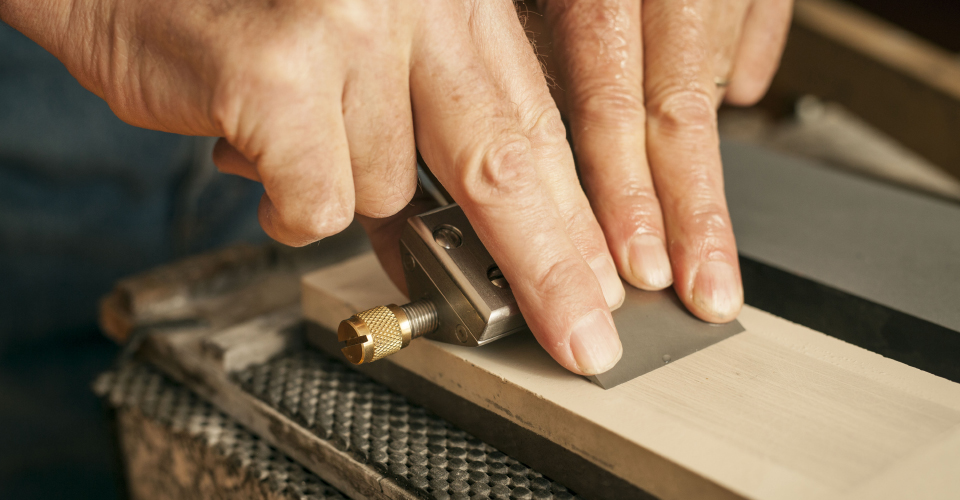
The distance the blade projects from the front edge of the Honing Guide determines the honing angle. The following list gives approximate distances in 5 degree increments:
Using the Mortise Chisel Jaw Pair increases the honing angle approximately 5 degrees. For example, setting a blade in the Mortise Chisel Jaw Pair at 1-5/32" for 30 degrees, will result in an angle closer to 35 degrees.
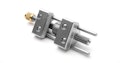
To ensure the jaws are attached squarely in the guide, set the jaws onto the body of the guide without tightening the lock screws, then close the guide with the thumbscrew. Once the guide is closed and the two jaw halves are making contact, tighten down the lock screws. The jaws should now be properly aligned in the tool.
You can find printable sharpening instructions as well as plans for an angle setting jig on our downloads page. Please note: Do not use diamond stones with the Lie-Nielsen Honing Guide.
For more information on advanced sharpening we recommend David Charlesworth’s video Plane Sharpening.
All parts are Stainless Steel, Brass, or Bronze. Keep the threads free of grit by rinsing off with water after use, but wipe off excess. If you want to oil the threads, use a light machine oil. This is not necessary.
All parts are replaceable and available from us. To disassemble, use two screwdrivers to remove the Brass nut. The Brass nut is reverse-threaded and is secured with reversible (green or blue) Locktite. Unthread the threaded rod from the body, remove one retaining clip to remove the roller bushing assembly. Reassemble in reverse order.
Materials and workmanship are guaranteed for the life of your tool. Call for repairs or replacement parts. We are available for advice if you ever have a problem using your tool.
Proposition 65 Notice: Bronze and brass alloys contain lead, a chemical known to the State of California to cause cancer and birth defects, or other reproductive harm. Wash hands after handling.