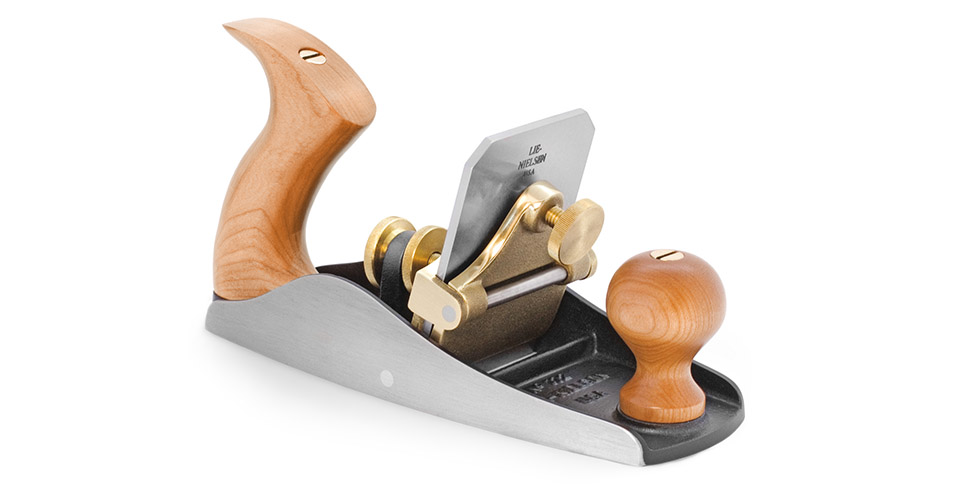
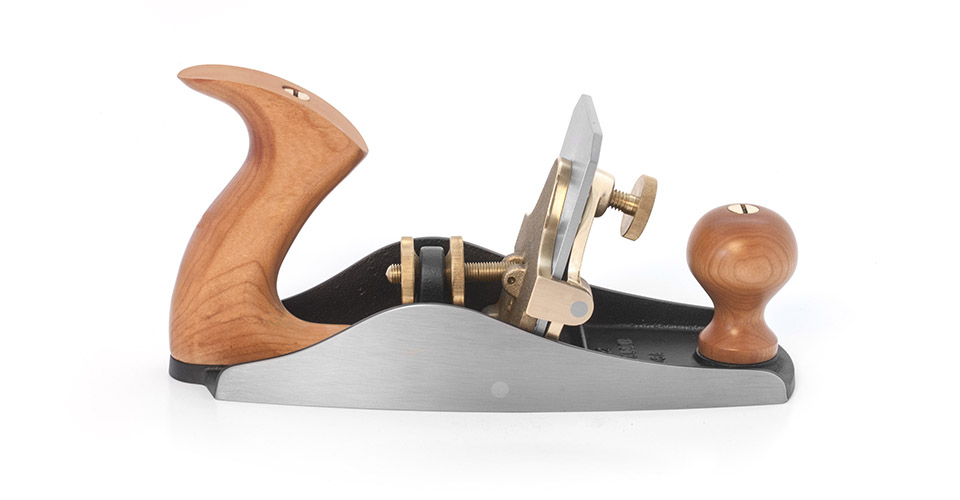
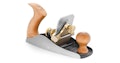
No. 112 Large Scraping Plane
An excellent tool for putting the final finish on large surfaces, especially when using woods that are difficult to finish with a Smoothing Plane. Our Large Scraping Plane is based on the Stanley No. 112, which was in production from 1885 to 1944. The blade, beveled at 45°, can be precisely adjusted to take the finest of shavings. The sole is ground dead flat.
- 9-1/2" long x 3-1/4" wide
- Blade is 2-7/8" wide x .140" thick
- Iron body only, 4 lbs.
Click here to download a PDF copy of the instructions for this tool.
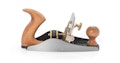
Large Scraping Plane
The Lie-Nielsen Large Scraping Plane is based on the Stanley #112, which
was made by Stanley from 1885 until it was discontinued in 1944. This is
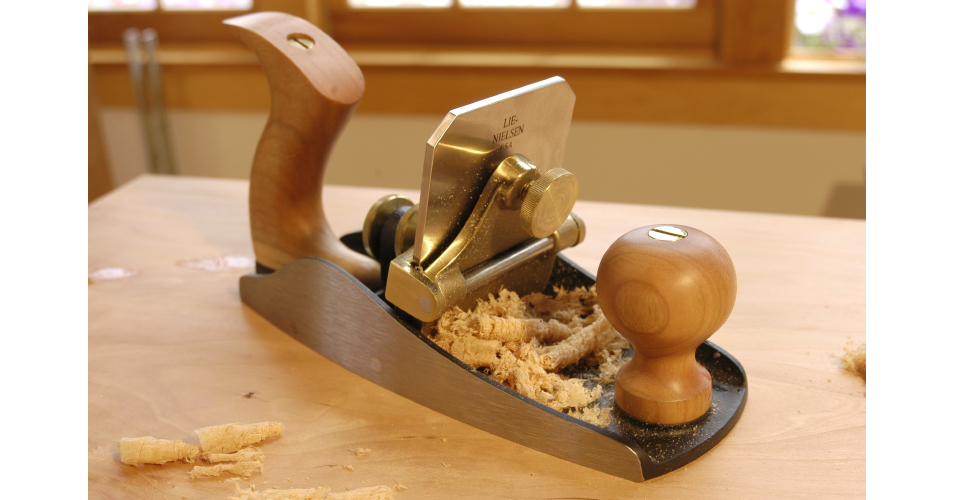
an excellent tool for putting the final finish on large flat surfaces, especially
when you are using woods that are difficult to finish with a Smoothing
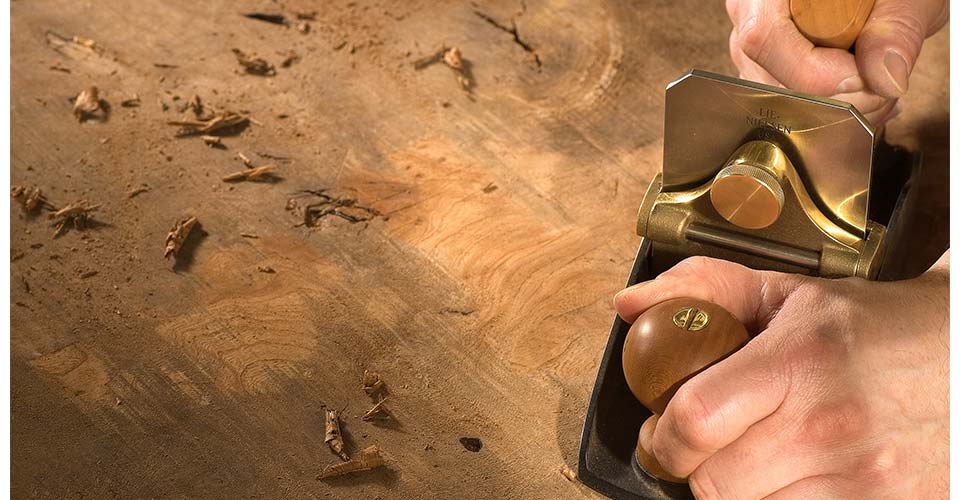
Plane. Scraping — whether with a Cabinet Scraper or a Scraping Plane
— gives great results. The plane format gives a comfortable handle and
knob to grip. Scrapers, however, take some practice to master.
Sharpening:
Our Scraping Plane comes with a much thicker blade than the original. This allows the blade to be prepared differently than other scrapers. We have found that our Scraping Plane blades sharpen easily and produce a better surface with a 45° bevel, honed to a sharp edge like a plane blade. Honing a secondary bevel of 5° will help achieve a razor edge quickly. We do not recommend using a burr, at least until you get used to using the tool. Slightly rounding the corners of the blade with a stone will prevent them from marking the work.
Note: In order to sharpen the No. 112 blade in our Honing Guide, the Brass thumbscrew needs to be removed. The thumbscrew is reverse threaded, and held with non-permanent Loctite. To remove, insert one screwdriver into the thumbscrew and a second into the end of the threaded rod, then turn clock-wise. If needed, heat may used to help break the Loctite bond.
Burnishing:
If you wish to create a burr, hone the blade, then hold upright
in a vise. Using a burnisher, begin by holding the burnisher at about 45° to
the blade, working up to 75°. Work the edge until you can feel a distinct
‘hook’ all the way across. Be very careful not to cut yourself on the upright
blade. Use of a burr will give more aggressive cutting action, and depending
on how consistent you are, turning the burr will require adjustment of the
blade angle after sharpening to work best.
Adjusting the Blade Angle:
The blade angle should be set about 15° forward of vertical. Try adjusting the angle to find optimum performance in various woods. One way to get it close is to take some test passes holding the blade by hand, varying the angle until it cuts best, then hold the blade at that angle against the side of the plane and adjust the frog to match. The beveled faces of the nuts fit into the countersink on the hole in the post to provide a solid lock.
Setting the Blade:
The blade is inserted with the bevel facing the handle. To set the depth of cut, lay the sole of the tool on a flat surface and loosen the thumbscrew. Press lightly on the top of the blade with your thumb and re-tighten the thumbscrew. Do not over tighten. Usually this will be enough exposure for a fine shaving. If not, repeat with a slip of paper under the front of the tool. Minor depth adjustments may also be made quickly by lightly tapping the top of the blade with a burnisher or light hammer while the tool is resting on a flat board.
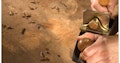
It is best to use a light touch, rather than trying to remove too much material at once, or using too much downward pressure. Too aggressive a cut (blades set too deep) or too much downward pressure will result in chatter. You should be taking light strokes. Often it is helpful to scrape at an angle to the grain, then again from the opposite angle.
Toothed Blades:
We offer toothed blades of 18 and 25 teeth per inch, useful when working extremely
difficult woods, by scoring fibers in a criss-cross pattern before using the
regular blade. They are also used to prepare surfaces for gluing, as in veneering,
by lightly roughening the surface.
Materials:
The body is cast from Ductile Iron, a very strong alloy that will
take a lot of abuse. These castings are fully stress-relieved, a process that
removes inherent stresses and ensures that the tool will remain flat and true.
The cap and frog are Manganese Bronze. Other parts are Brass and Steel.
The blade is A2 Tool Steel hardened to Rockwell 60-62, cryogenically
treated and double tempered. Our heat treating technique ensures that the
blade will take and hold a very fine edge for a long time. After heat treating,
the blade is fully surface ground on the top, back, and cutting edge, giving
a smooth, flat surface that will take a mirror finish very quickly. The thick blade provides solid chatter-free cutting.
Maintenance:
The body casting is ground dead flat to a tolerance of .0015". Depending on how much use your tool gets, an occasional light sanding with 320 grit or finer wet/dry paper on a flat surface will keep the sole in as-new condition. Tools with Iron bodies should be kept lightly oiled or waxed to prevent rust. We recommend Jojoba Oil, a plant based oil product that is non-toxic, odor-free and easy to use. Also, in our shop, we use a fine abrasive handblock to remove any light surface oxide from tool bodies and blades. Jojoba Oil and abrasive handblocks are available from us.
Find everything you need for tool care.
Guarantee:
Materials and workmanship are guaranteed for the life of your tool. Call for repairs or replacement parts. We are available for advice if you ever have a problem using your tool.
Proposition 65 Notice:
Bronze and brass alloys contain lead, a chemical known to the State of California to cause cancer and birth defects, or other reproductive harm. Wash hands after handling.